
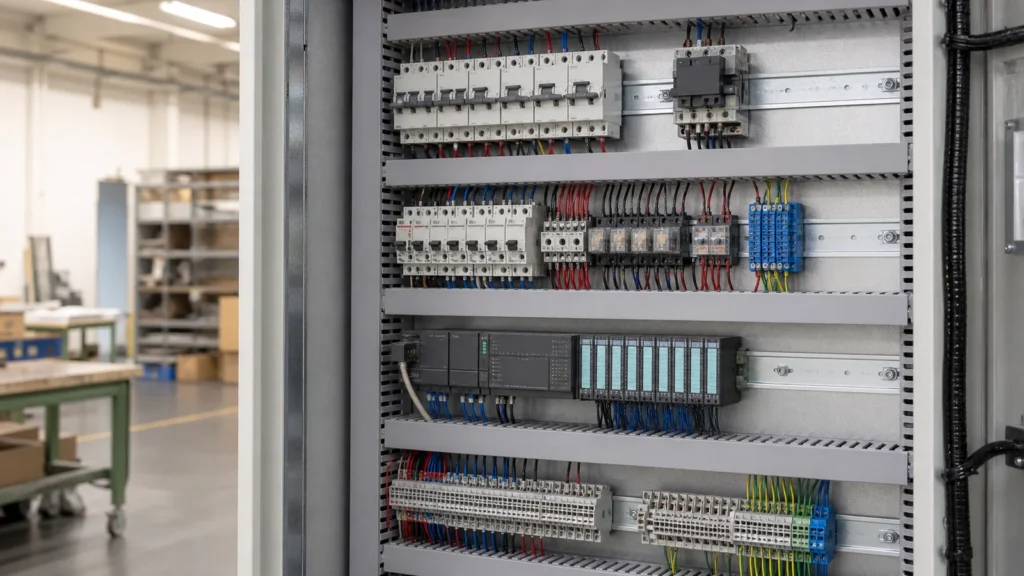
Wiring duct may look like a simple component, but selecting the wrong type or size can create problems throughout the life of an electrical control panel.
A duct that is too small makes wire installation difficult and leaves little room for modifications. An oversized duct consumes valuable mounting space. An unsuitable slot design can slow down assembly, while a poorly planned layout can make inspection, troubleshooting, and maintenance unnecessarily complicated.
The right choice depends on more than width and height. Panel builders and buyers should also consider conductor quantity, cable diameter, routing direction, bend space, material, operating environment, access requirements, and future expansion.
This guide explains how to choose wiring duct for control panels, distribution cabinets, automation systems, machinery, and OEM electrical equipment.
What Is Wiring Duct?
Wiring duct—also called wire duct, cable duct, slotted duct, or finger duct—is a channel used to organize and contain wires inside electrical enclosures.
It is commonly installed between components such as:
- Terminal blocks
- Circuit breakers
- Contactors and relays
- Power supplies
- Variable-frequency drives
- PLCs and I/O modules
- Communication devices
Conductors run inside the duct, while slots along the side allow individual wires to exit near their connection points. A removable cover keeps the wiring contained and gives the completed panel a clean, organized appearance.
In addition to improving appearance, a well-designed duct layout can make assembly, inspection, wire identification, troubleshooting, and future modification easier.
Why Wiring Duct Selection Matters
Wiring duct affects both panel construction and long-term serviceability.
If the duct is crowded, installers may need to force the cover into place. Wires become difficult to trace, and adding another circuit later may be impractical. If the slot pattern does not suit the wiring layout, technicians may spend extra time routing conductors around components.
Good duct selection helps a panel builder:
- Route conductors consistently
- Keep wiring close to termination points
- Separate circuit groups where required
- Reduce loose wiring inside the enclosure
- Make wire numbers and labels easier to inspect
- Simplify maintenance and future changes
- Create a repeatable assembly process
The objective is not to install as much duct as possible. It is to create an efficient routing system that fits the electrical design, enclosure dimensions, and maintenance requirements.
Calculate the Required Wiring Capacity
Start with the number and approximate outside diameter of the conductors that will pass through each duct section.
Do not select a duct based only on the total conductor count for the complete panel. Different sections of the layout may carry very different wire volumes. A main horizontal duct may collect wiring from several component groups, while a short vertical duct may serve only one row of terminal blocks.
Review each route separately. The required capacity can be affected by:
- Number of conductors
- Outside diameter of each conductor
- Insulation thickness
- Ferrules, wire markers, and identification sleeves
- Shielded or multicore cables
- Wire bends and crossing points
- Planned spare circuits
- Future expansion requirements
Wire counts listed for a duct should be treated as selection references rather than universal capacity values. Actual capacity changes with conductor diameter, routing arrangement, bend radius, and the free space needed for installation.
Whenever possible, prepare a wire schedule or routing estimate before selecting the duct.
Leave Space for Installation and Expansion
A wiring duct should not be filled to the point that conductors must be compressed to close the cover.
Free space makes it easier to insert wires, follow wire numbers, remove a circuit, and add wiring during future upgrades. It also reduces the risk of the cover lifting because of pressure from the bundle.
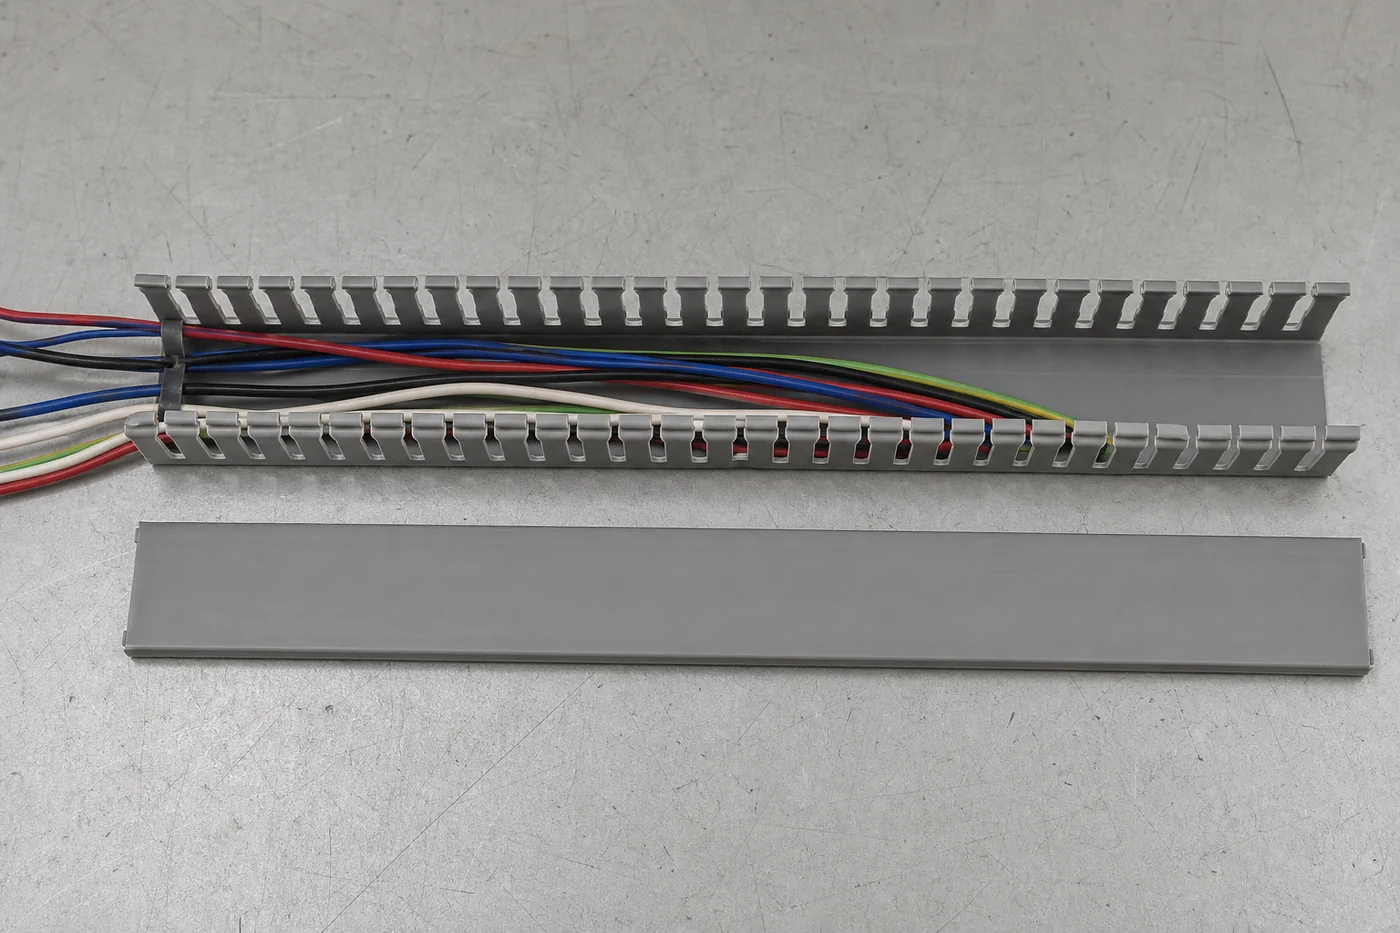
The appropriate reserve depends on the project. A standardized OEM machine with a stable design may require less expansion space than a control panel expected to receive additional sensors, motors, or field circuits.
Consider these questions:
- Is the panel design likely to change?
- Will the customer add equipment later?
- Are spare PLC inputs or terminal blocks included?
- Does the installation require easy field modification?
- Are some conductor sizes still being finalized?
If the answer to any of these questions is yes, include additional routing capacity instead of sizing the duct only for the initial wire count.
Select the Right Width and Height
Wiring duct size is normally expressed as width × height.
Width determines how much mounting-plate surface the duct occupies. Height provides internal volume but may also affect clearance around terminals, covers, enclosure doors, and other hardware.
A narrow, tall duct can save mounting-plate width, but it may make wire handling more difficult in some layouts. A wider, shallower duct can provide easier access but requires more panel space.
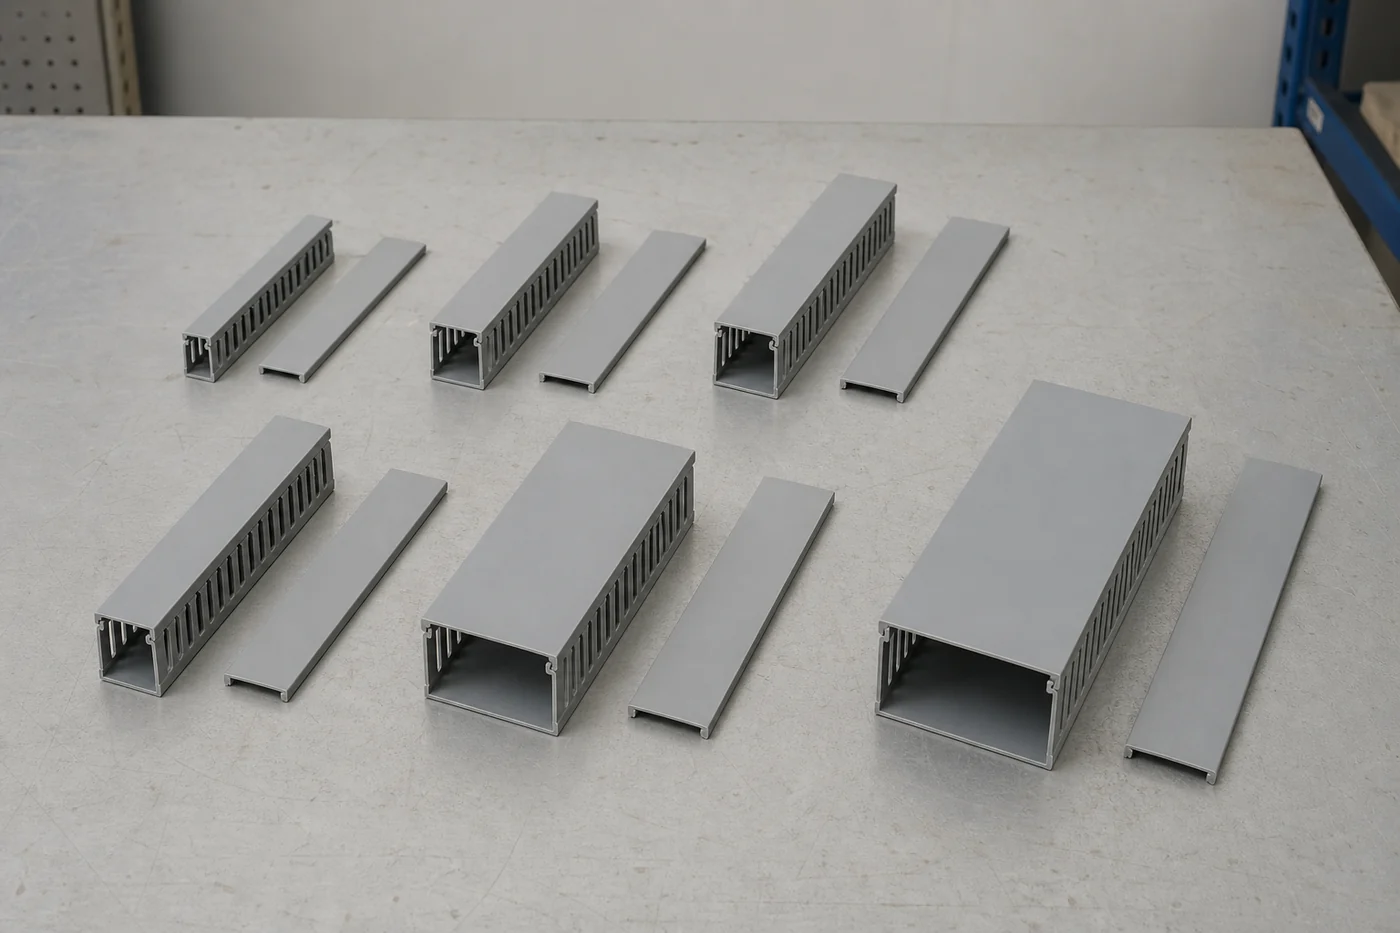
When comparing sizes, check:
- Available space on the mounting plate
- Distance between component rows
- Clearance for conductor bends
- Accessibility of terminal screws
- Clearance between the duct cover and enclosure door
- Position of DIN rails and cable entry points
- Space needed to remove the cover
SMK’s standard insulated wiring duct is offered in multiple width and height combinations. The listed wire capacities are useful for initial comparison, but the selected model should be checked against the actual conductor sizes and project layout.
Choose the Appropriate Slot Design
Slotted wiring duct has fingers along its side walls. Conductors exit through the spaces between the fingers and connect to nearby components.
The slot pattern influences routing flexibility and wire retention.
Standard slotted wiring duct
Standard slotted PVC duct is a practical choice for many control panels, distribution boards, automation panels, and machinery-wiring applications. It supports organized routing and allows conductors to exit at multiple positions.
Fine-finger or narrow-slot duct
A finer slot pattern can be useful where many small control wires terminate close together. It provides more exit positions and may help align conductors with densely arranged terminals.
Wider-slot duct
Wider openings may be more convenient for larger conductors or small cable groups. The most suitable option depends on conductor diameter and component spacing.
Connected-finger designs
Some duct designs connect the tops of the side fingers to provide additional rigidity and wire retention. They may be useful when an application calls for stronger side-wall support.
Slot width, finger spacing, and side-wall design should match the conductors and component arrangement. Request samples or detailed dimensions if catalogue information is not sufficient for the panel design.
Consider Material and Operating Conditions
Rigid PVC is widely used for internal panel wiring duct because it is practical to cut and install and is available in many dimensions.
Material selection should still be reviewed against the actual operating environment. Consider:
- Expected temperature inside the enclosure
- Proximity to heat-producing components
- Exposure to oil, chemicals, or moisture
- Vibration and mechanical impact
- Indoor or outdoor enclosure conditions
- Flame-performance requirements
- Project-, customer-, or market-specific standards
The standard SMK insulated wiring duct is described as rigid flame-retardant PVC with a typical working range of −20°C to 65°C. Product-specific values should be confirmed for the selected model and purchase order.
Do not assume that every PVC duct meets every regulatory or customer requirement. If a project requires a particular material declaration, test report, flammability classification, or market-specific document, include it in the inquiry and verify availability before ordering.
Plan Separation Between Circuit Groups
The physical duct layout should follow the electrical design.
Depending on the equipment and applicable requirements, designers may need to separate:
- Power and control wiring
- AC and DC circuits
- Higher-voltage and lower-voltage conductors
- Motor wiring and sensor signals
- Safety circuits and standard control circuits
- Communication cables and power conductors
- Noise-sensitive analog signals and switching circuits
Separation may be achieved through different ducts, physical spacing, barriers, or controlled crossing points. The correct method depends on the system design, component-manufacturer guidance, project specifications, and applicable electrical rules.
Wiring duct supports the routing plan, but it does not replace proper electrical engineering. Confirm conductor separation, grounding, shielding, and bend requirements during the panel design stage.
Check Cover and Installation Features
Wiring duct is handled repeatedly during panel assembly. Small design details can affect production efficiency, especially for OEM manufacturers building the same panel in volume.
Useful features include:
- A cover that snaps into place consistently
- Side fingers that can be removed cleanly
- Material that can be cut without excessive cracking
- Suitable rigidity during installation
- Smooth internal surfaces
- Multiple dimensions within one product family
- Consistent color and appearance
- Practical packaging for long duct sections
Before approving a large order, test how the duct performs with the workshop’s normal cutting and installation tools. Check the cover fit after the duct is filled and confirm that cut edges can be finished appropriately.
Design the Layout Around Maintenance
A neat panel is not automatically an easy panel to maintain.
Technicians need to remove covers, identify conductors, reach terminals, and trace wires without dismantling unrelated components. Avoid placing ducts so close to devices that terminal access becomes restricted.
A practical layout should provide:
- Clear routes between component groups
- Short exits from the duct to terminals
- Enough bend space for conductors
- Access to labels and terminal markings
- Removable covers that are not blocked by hardware
- Logical paths that technicians can follow
- Room for planned additions
For a broader view of product selection by application, see SMK’s cable management solutions, including control-panel and wiring-duct applications.
Evaluate the Supplier Before a Bulk Order
For distributors, panel builders, and OEM buyers, product selection also includes supply consistency.
Ask the supplier to confirm:
- Available width and height combinations
- Standard duct length
- Material and color
- Slot and finger dimensions
- Cover design
- Packaging quantity
- Carton dimensions
- Labeling requirements
- Custom packaging feasibility
- Required technical or export documents
- Current lead time
- Sample availability
If the duct will be resold under a private label, also discuss labeling, packaging artwork, carton presentation, and product combinations.
Technical values, customization options, minimum quantities, and production schedules should be confirmed in the final quotation. A physical sample is especially useful when cover fit, color, cutting quality, or compatibility with an existing product range matters.
Wiring Duct Selection Checklist
Before requesting a quotation, prepare the following information:
- Control panel or equipment type
- Wiring diagram or general layout
- Number and size of conductors
- Required duct width and height
- Preferred slot pattern
- Required duct length
- Material and color
- Working temperature
- Applicable technical or documentation requirements
- Estimated order quantity
- Packaging or private-label needs
- Target market and delivery destination
Providing these details allows the supplier to review the application instead of quoting an unsuitable model based only on a general product name.
Conclusion
Choosing wiring duct for an electrical control panel requires a balance between capacity, space, access, material, routing flexibility, and future maintenance.
Begin with the wire schedule and panel layout. Estimate capacity for each duct section, include practical reserve space, and compare width and height against the available mounting area. Then review slot design, operating conditions, circuit separation, cover access, and documentation requirements.
A well-selected duct system makes a panel easier to assemble, inspect, troubleshoot, and modify throughout its working life.
SMK supplies slotted PVC wiring duct in multiple size combinations for control cabinets, distribution boards, automation panels, and machinery wiring. To discuss a model, include the required size, conductor information, quantity, application, target market, and packaging requirements when you request a quotation.
Frequently Asked Questions
What size wiring duct should I use in a control panel?
The required size depends on the number and outside diameter of the conductors, bend space, panel layout, and planned spare capacity. Calculate each duct section separately and leave enough room for installation and future changes.
Should wiring duct be completely filled?
A duct should not be packed so tightly that wires are compressed or the cover is difficult to close. Free space helps with installation, tracing, and future modifications. Follow the project’s engineering requirements when determining allowable fill.
What is the difference between slotted duct and solid duct?
Slotted duct has side openings that allow individual wires to exit near components. Solid duct has continuous side walls and is more suitable for routes where frequent wire exits are unnecessary. The best design depends on the wiring layout.
Can power and signal wires share the same wiring duct?
That depends on circuit characteristics, system design, component guidance, applicable electrical rules, and customer requirements. Power, control, communication, and noise-sensitive signals may require separation.
Is PVC wiring duct suitable for every control panel?
PVC duct is practical for many industrial panels, but the selected material must be checked against temperature, chemical exposure, vibration, flame-performance requirements, and market-specific standards.
What information should I send when requesting a quote?
Send the required width and height, duct length, estimated quantity, application, material or color requirements, target market, packaging needs, and any required technical documents.
Related Products
Products for This Guide
Review specifications or request pricing for the products most relevant to this article.
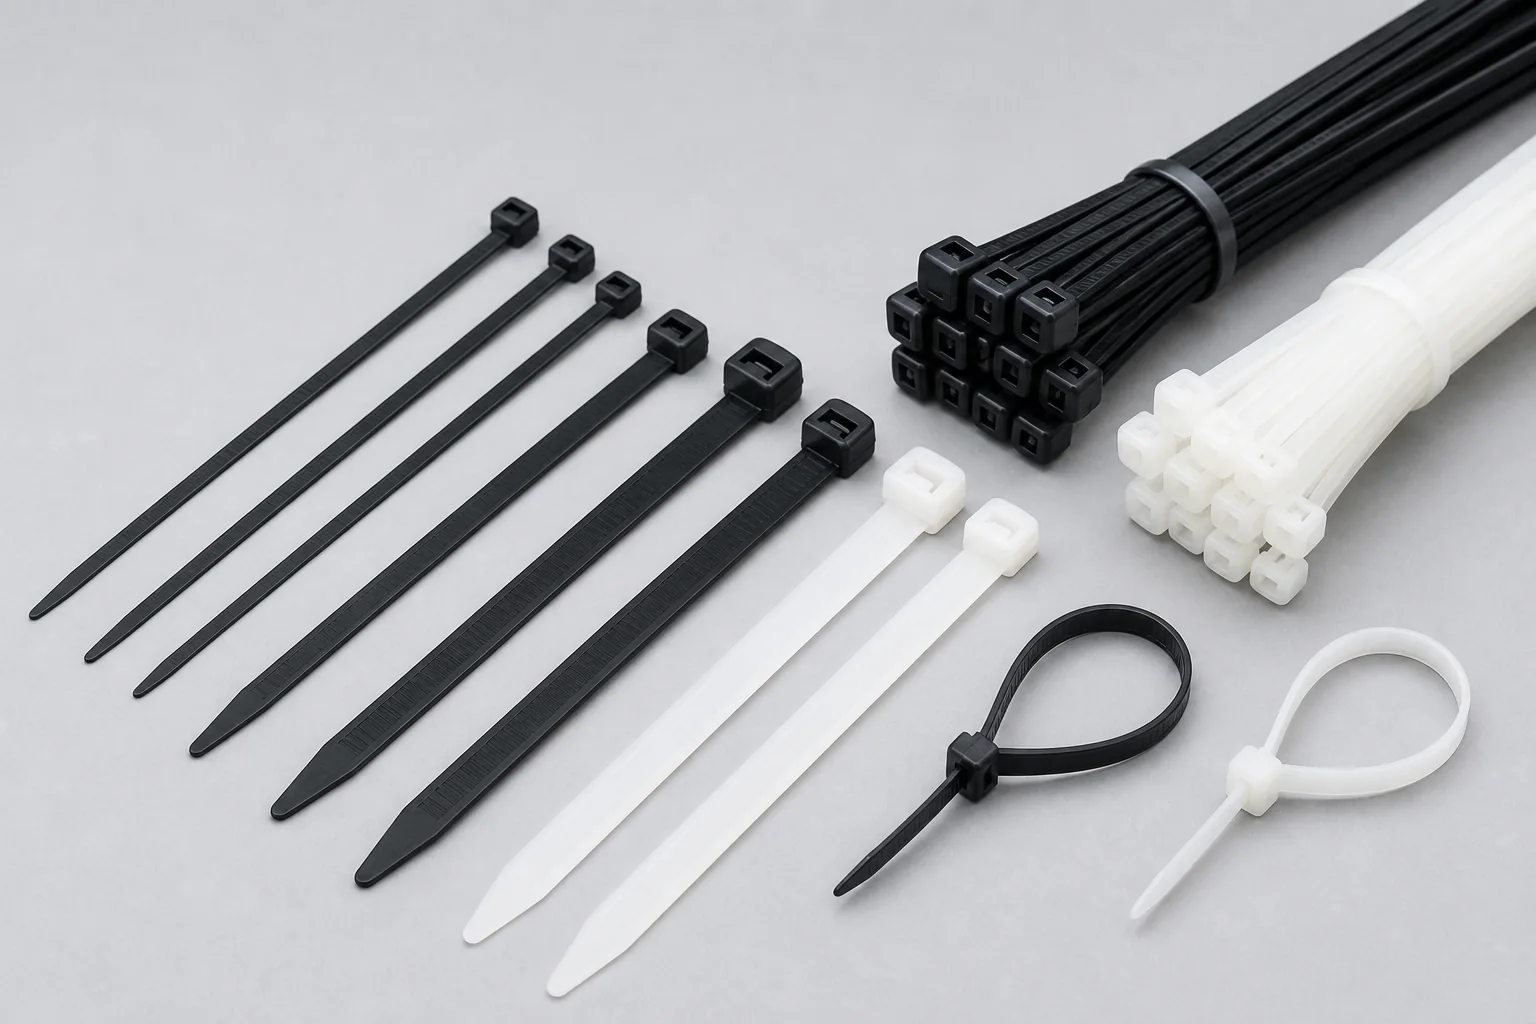
Standard Nylon Cable Ties
The most widely used cable fastening solution for electrical, factory, construction, electronics, and wholesale markets.
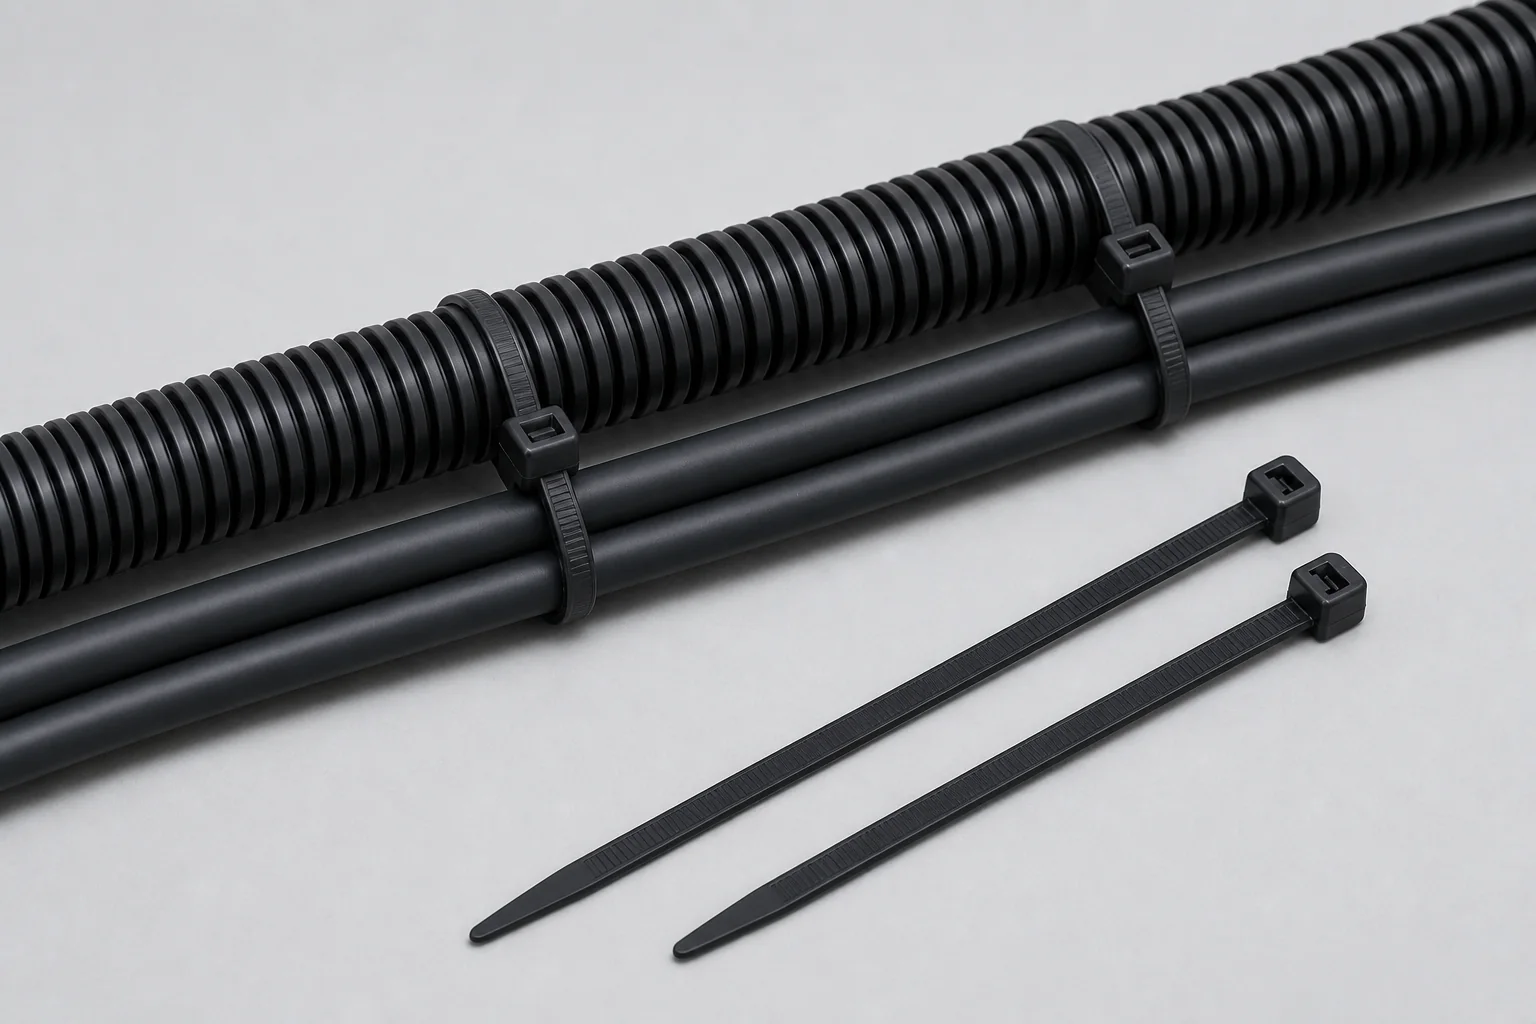
UV Resistant Cable Ties
Weather-resistant black cable ties for solar, telecom, outdoor engineering, and power installations.

Stainless Steel Cable Ties
High-value fastening for marine, oil and gas, chemical, railway, and extreme outdoor environments.